How To Make Sprouts Step By Step
- March 16, 2022
- Recipe By: Heather Kelley
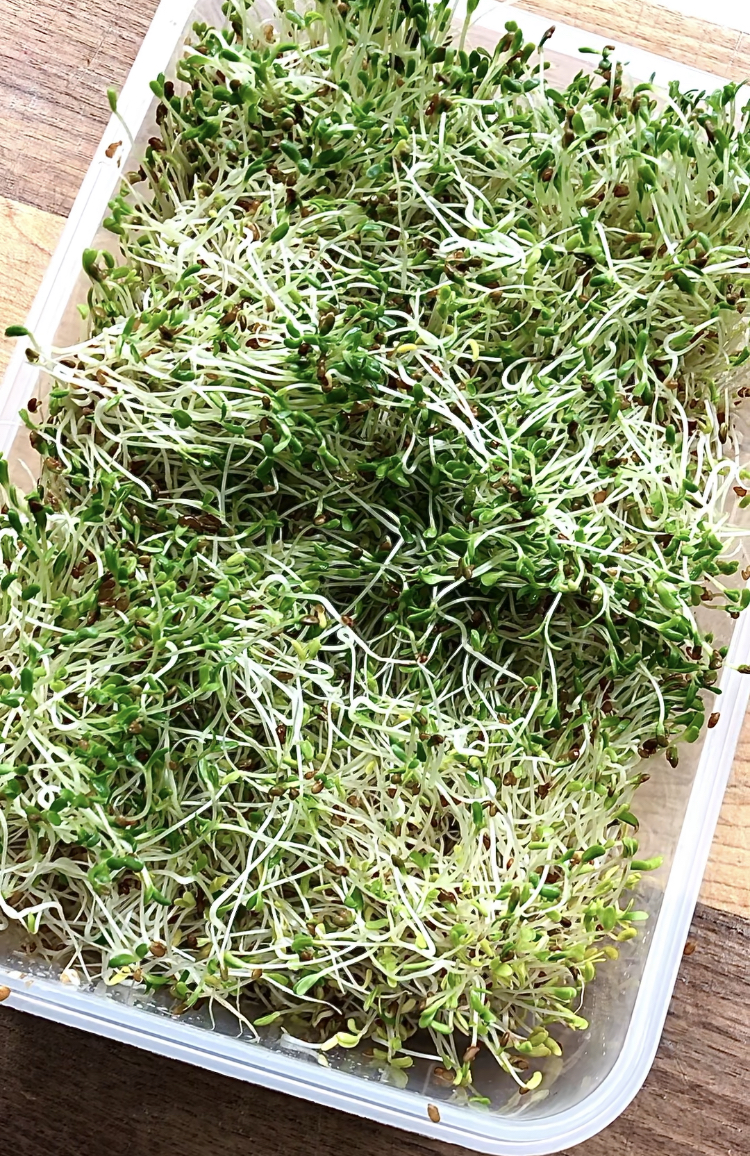
Sprouts are so easy to make! Fresh, nutrient dense veggies anytime you want. Here’s a step by step walkthrough on how to make sprouts from your home.
- Prep Time5 min
- Ready in6 Days
Ingredients
- Alfalfa Sprouting Seeds
- Mason Jar
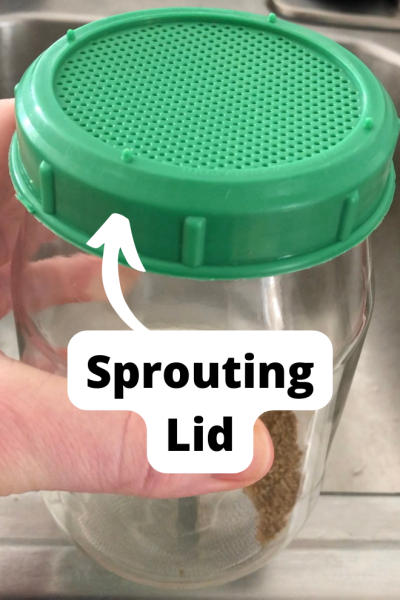
- Sprouting Lid
Method
Day 1: Step 1
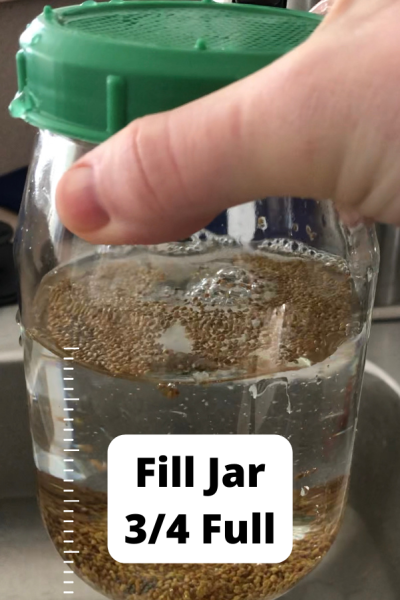
In a large mason jar, pour in 1 TBS of the seeds. Fill up the jar with water about 3/4 full. Place the sprouting lid on top and soak for 6-8 hours on the countertop.
Step 2
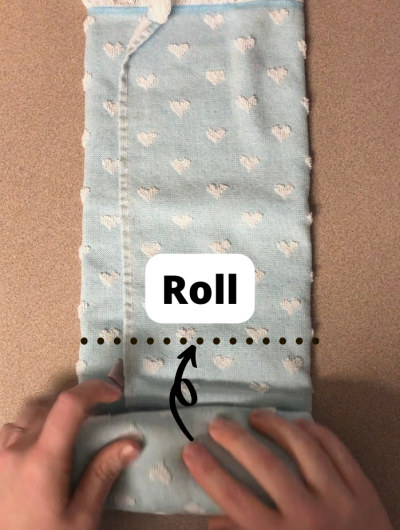
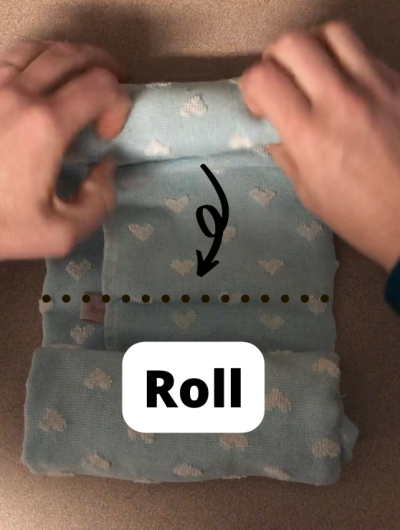
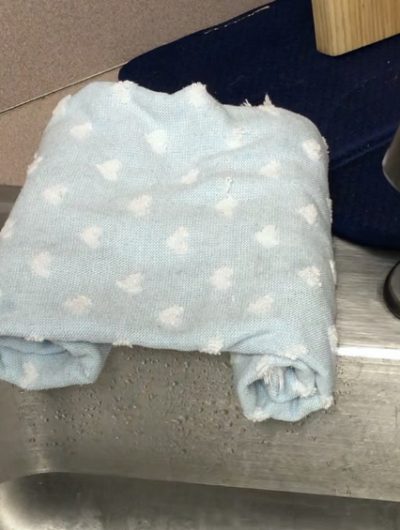
Take a dishcloth, fold it in thirds and roll both ends to the middle. Flip it over and place it at the top of your sink.
Step 3
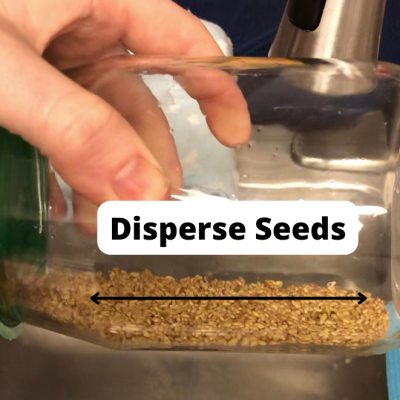
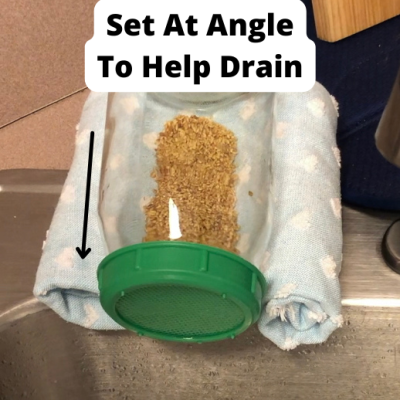
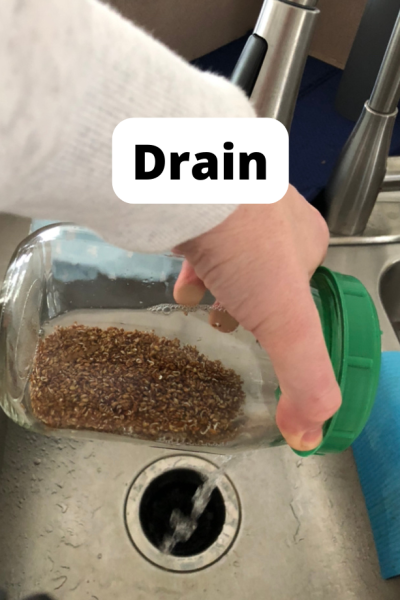
After 6-8 hour, drain the water out of the jar. Be sure to keep the seeds level in the jar instead of piled in a heap. Place the jar horizontally, and slightly tilted down, on the prepared dishcloth. This will help drain the seeds during the day.
Step 4: Day 2-6
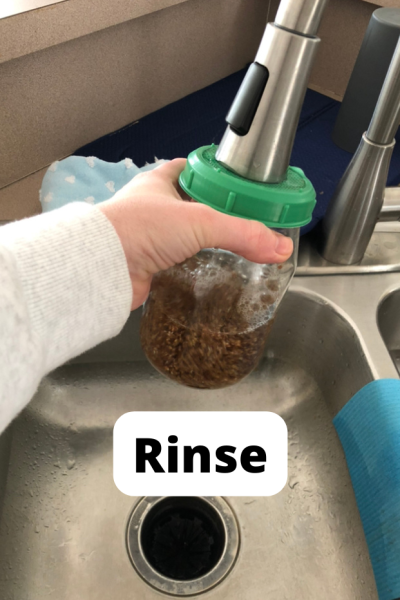
Rinse the seeds 2-3 times a day. I usually rinse while I’m preparing breakfast and lunch and dinner or whenever I’m around the sink. Place jar back on the dishcloth.
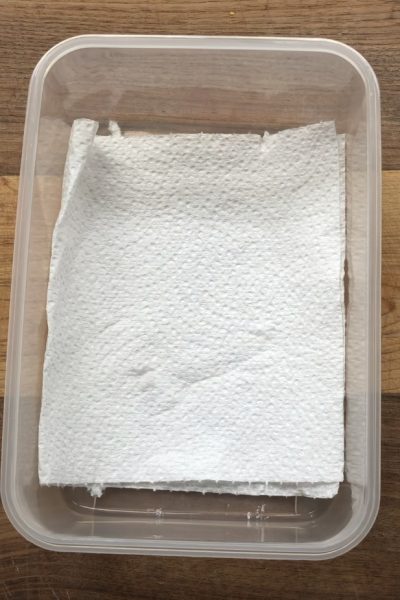
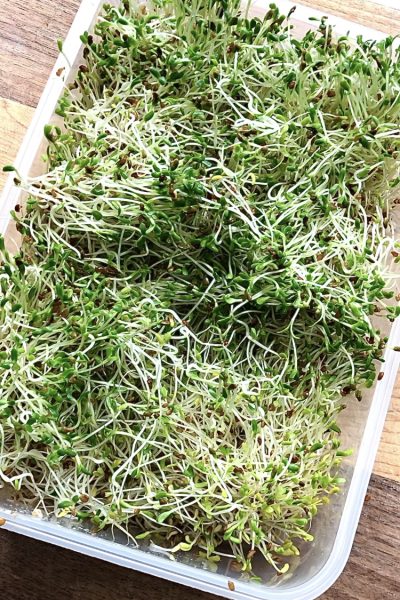
Once the seeds have grown to your desired size, remove from the jar and place in a paper towel lined container. Place in the fridge for about 5-7 days. **The drier the seeds, the longer they will last. Feel free to replace the paper towel on occasion to help collect moisture.
How to make sprouts step by step - Video
HOw to Make Sprouts Step By Step - Method
There are so many benefits to making your own sprouts from home. They are stress free, require no soil or garden space, cheap, they are organic (especially when purchasing organic seed), you can freeze the seeds in the freezer, and they require no green thumbs! Not only that, but you can easily add them to any meal with no cooking or seasonings. I love these babies in sandwiches, on rice, in a pita, rolled up in a spring roll, on top of ramen noodles, in a burger….I could go on. Here is a completely comprehensive step by step guide to sprouting your own sprouts from home.

Step 1: Day 1
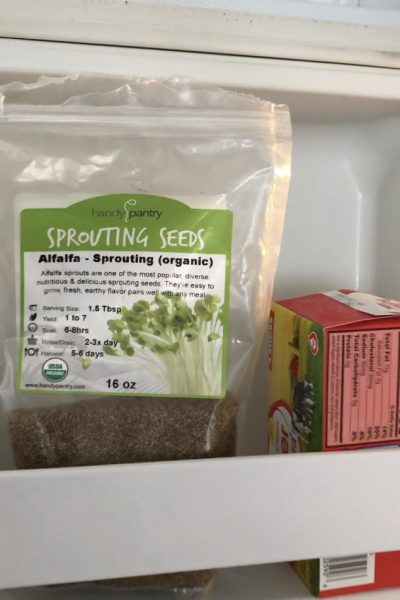
First thing to do is pour 1 TBS of seeds into a large mason jar. These are the seeds I have. Pour water into the mason jar and fill it up about 3/4 of the way full. Place the sprouting lid on top of the jar and screw tightly. If you don’t have a sprouting lid, they are VERY CHEAP and awesome! Here’s the one I have. If you don’t want to purchase a sprouting lid, you can use cheesecloth, secured with a rubber band. Leave on the counter for 6-8 hours. This helps to activate those little dormant seeds and give them a jumpstart to sprouting.
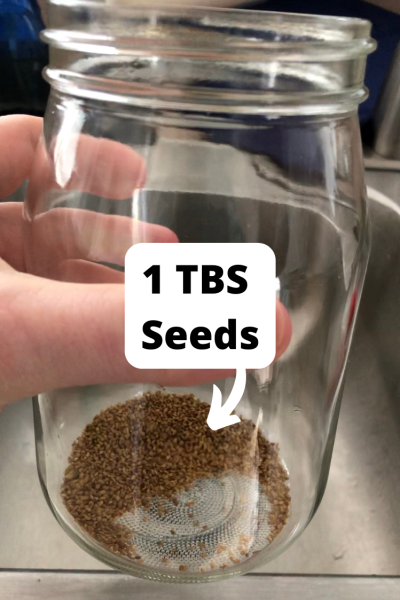
PRO TIP: I usually set a timer on my Alexa or phone for 6 hours. This way I don’t have to keep track of when to drain my seeds. It also gives me some leeway, so if I’m in the middle of cooking dinner, I know that I don’t have to get to them right away.
Step 2 & 3: Day 1
Once the 6-8 hours is done and your timer goes off letting you know it’s time to drain your seeds, I like to first prep a dishcloth to hold the jar in between rinses. Do this by folding your dishcloth in thirds. Then, roll both sides into the center. Flip over your cloth and place it on your sink.
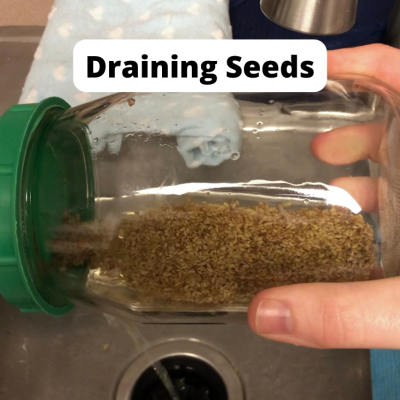
Drain the water out of your mason jar. Do this somewhat slowly and with the goal of letting the seeds settle in a line, instead of bunched up in a heap. This prevents mold as well as promotes even growth amongst your seeds.
Step 4: Day 2 - 6
The last few days are very simple – rinse and drain. That’s it! You’ll want to do this 2-3 times per day. This is super easy to incorporate into my day, especially since I have my seeds on the sink. When I’m getting breakfast/lunch/dinner ready, pouring myself a drink, or doing dishes, I just take 30 seconds to fill up the jar, and pour out the water. Set your jar back on your dishcloth. Done! After a few days you’ll have beautiful sprouts!
Storing Your Sprouts
When your sprouts are ready to consume, you’ll need to prep them to store. Keeping your sprouts as dry as possible will extend it’s shelf life. You can do this by thoroughly and gently patting dry your sprouts with a dry cloth or paper towel. You’ll also want to place a paper towel in a tupperware container to soak up the water as it sits. Sometimes keeping strawberry containers from the store with the slits in the bottom can also help with drainage and airflow, extending the life of your sprouts. Store your sprouted seeds in the fridge. If you find that your sprouts have thoroughly soaked through your paper towel, replace it. My sprouts usually last between 5-7 days.
Storing Your Seeds
You can store your seeds at room temperature if you’d like. They will however last much longer if they are frozen. Frozen seeds don’t need to be thawed before soaking them. You can take them directly out of the freezer and get sprouts in 6-7 days. Seeds in the freezer can last 4-5 years. I’ve had my seeds for 4 years in the freezer and they still sprout beautifully. I advise against storing them in the fridge as this could dry them out or make them go stale.
HOw Do I Know if My Sprouts or Seeds Have Gone Bad?
If you’re talking about sprouts, then smell is your best indicator. Your sprouts will start to smell rancid, fishy, or moldy if left in the fridge for too long. Keeping your sprouts as dry as possible will extend it’s shelf life. Mold is also an indicator that your sprouts have gone bad.
If you’re talking about the seeds themselves and knowing if they are still worthy of sprouting, then the best way to tell is to soak them for the 6-8 hours. Do your 2-3 rinses per day. After 2 days of rinsing you should see little white sprouts coming out of the seeds. If you don’t, most likely you’re sprouts have gone bad.
