So you have a sourdough starter...now what?!
A lot of people who want to get into sourdough work so hard to create their starter, and then what do they do? They might ask, “How do I maintain it? Do I feed it every day? Do I just make bread with it or can I make other things? Can I never go on a vacation again!? Do I have to get a sitter if I do?! What have I signed up for?
Ok, calm down. I can explain….
Sourdough starters are not that complicated, and they’re not that high maintenance. Let’s look at what exactly you’re signing up for.
Question 1 - How often do I feed my starter? What if I'm gone for a long time?
So how often exactly are you supposed to feed that new little pet that we call a starter? Let’s talk about a couple of ways to keep an active and healthy starter. I usually leave mine in the fridge and use it once a week, which means it only gets fed once a week and it’s fine and perfectly healthy. I’ve left it in my fridge for an entire month at one point, and yes, it was a bit sluggish, but after a few feeding on the countertop it was fine and back to life. Do I suggest neglecting it for a month? Definitely not. My suggestion at the very minimum is to feed your starter once every 2 weeks. This will ensure that it’s getting enough to eat, but isn’t being too much of a nuisance.
So what if you’re gone for longer than 2 weeks? You can freeze it! Here’s what you do: Take 1/4 Cup of starter, and add 4 TBS of flour and 3 TBS of water. Let it sit for 4 hours to activate and become healthy. This is important because freezing will kill some of the bacteria in your starter. If you starter is already weak, it may not survive the “winter”. After 4 hours, put your fed starter into an airtight bag or jar and place it in the freezer. When you get home, take your starter out of the freezer and put it on your counter to thaw. Let it thaw for several hours and then feed it again. You can feed it by adding 4 TBS of flour and 3 TBS of water, stir to combine and let it sit for 4 hours. After that, bing! It’s ready to go for your next baking adventure. Yay!
How do I feed it?
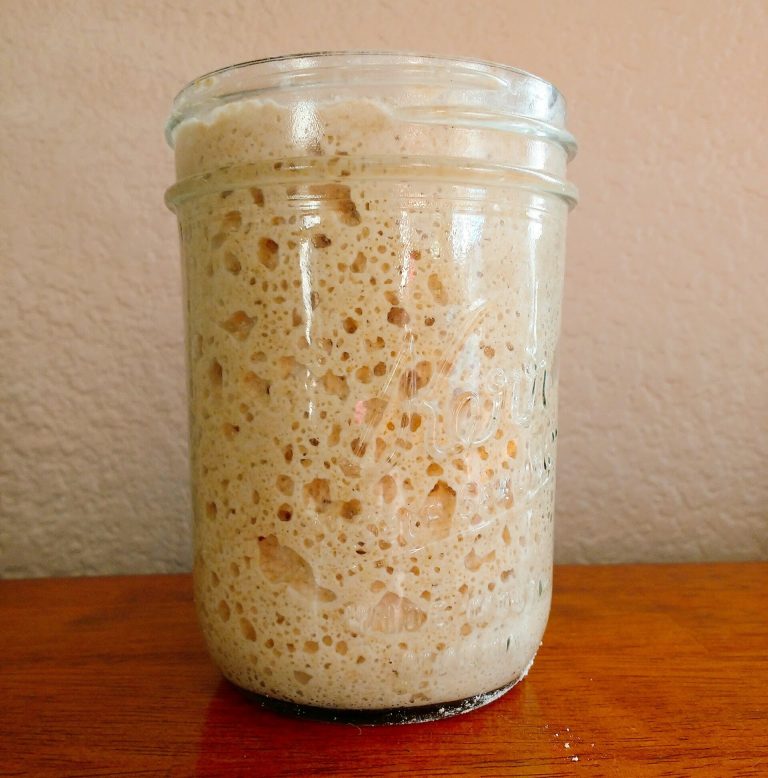
What if it’s been a few weeks since you’ve used your starter, you’re not in the mood to make anything but you need to feed it? Or what if you want to make something but you want to freshen up that starter that’s been sitting there for a while in the fridge. No problem! You can feed it two ways: First, in a jar, add 1/4 cup of starter, 4 TBS of flour and 3 TBS of water. Put the lid on top, then set it on your counter for 4 hours and watch it grow. It should double in size. If it doesn’t it’s because it needs more food. Just repeat that process by throwing out all but 1/4 cup of starter, then add the 4 TBS of flour and 3 TBS of water. Stir to combine and let it sit on the counter for another 4 hours. It should be doubled in size. If it’s not, repeat until it’s ready. I usually do this process when I want to use it for a recipe and I know my starter needs some refreshing.
The other way to feed your starter is to do exactly the same steps as the first way, but instead of leaving it on the counter top after you mix in the flour and the water, pop it in the fridge in a mason jar with a lid or a tupperware container. The starter will still be fed, it will still eat and it will still be healthy. The fridge simply slows this process down, so instead of the 4 hours on the counter to activate, it may take 8 or more. I usually do this if I’m not worried about the health of my starter, and I’m not needing it anytime soon.
How do I revive a dying starter?
Ah! It’s been way too long since I’ve fed my starter! What do I do?! Can it be revived? Ok, so I’ve never not been able to revive a starter, but, that does not mean it’s impossible. What it does mean is that if you usually have a healthy starter then you might be surprised at how resilient they can be. You can revive it doing this:
Take 1/4 cup of starter, 4 TBS flour (Whole wheat is best as it creates a better flora for your starter, there’s more nutrients to eat), and 3 TBS of water and mix them all together in a jar. Put the lid on and let it sit on the counter for 4 hours. Hopefully there are some signs of life, like a few bubbles or the smell of fermentation.
Next, discard all but 1/4 cup of starter and repeat the process, taking 4 TBS of flour and 3 TBS of water, mixing and letting sit for 4 hours. Keep this up until your starter is able to double is size in 3-4 hours. It may take you 4 times, it may take you 7 times. The point is, if there are signs of life, keep feeding it. It’s like a dying pet that you’re nursing back to health. It just needs time and food. During the night please don’t feel like you have to get up every 4 hours. What you can do is put it in the fridge. This will slow down the process so it doesn’t eat it too fast and become hungry again. The next morning just take it out and continue to repeat the process.
What does it mean to have an active starter?
Many times in a recipe it may say to use an activated sourdough starter. All this means is that you’ve recently fed your starter, it’s strong, healthy and ready to do some leavening. When you keep your starter in the fridge and only feed it every so often, it becomes sluggish and somewhat dormant for a time. It needs to be reactivated by giving it some food. How you do this is to take 1/4 Cup of your starter (more if the recipe calls for more), 4 TBS of flour, 3 TBS of water and combine in a container. Let it sit on your counter for 4 hours until it doubles in size. Congrats! Your starter is now activated and ready to be used in any recipe.
Do I only use glass to store it in?
There is a lot of conflicting arguments out there about what kind of material you should store your sourdough starter in. What I have to say about it is my opinion based on everything I’ve read, as well as observed and experienced, so take it with a grain of salt.
Stainless Steel: A lot of people think that stainless steel bowls are not a great thing to mix your sourdough starter mix in because it will kill your starter. I’ve been brave and
tried this out with no adverse affect on my starter at all. I didn’t see any issues with the health of my starter and my bread that I made was delicious and well risen. I’ve also read from a few sources that stainless steel isn’t an issue.
Plastic: So the verdict is out with this one. There are many people who use plastics for their sourdough and feel that it is perfectly fine. There are others that say the bacteria in the sourdough leaches the plastic into your start. I personally don’t use plastic containers or bowls to put my starter in just to be safe. I do however use my plastic bowls with lids to make my sourdough bread. This is mainly because it’s convenient. My large bowls that I have at home all have lids that fit them perfectly well. I don’t have to fuss with saran wrap and I know it will be well sealed.
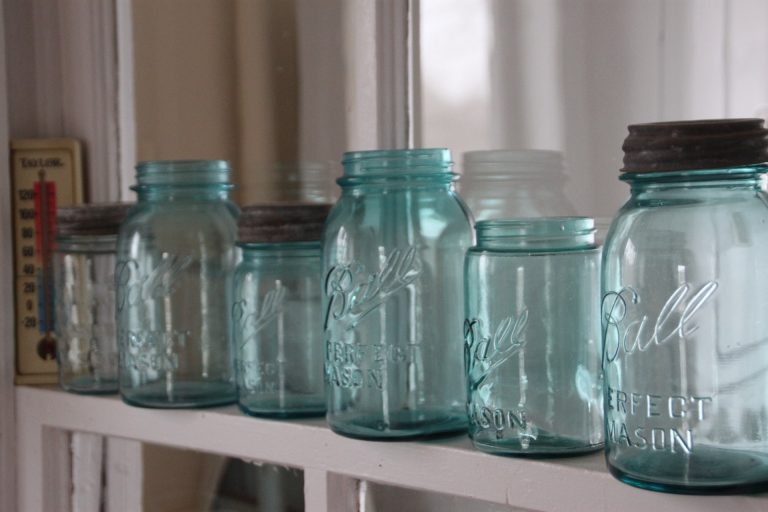
Glass: This is my preferred method and for a few reasons. The first reason is that I love that I can see the bubbles clearly through the glass which helps me know how my starter is doing. The next reason is that it’s worry free. I don’t have to worry whether or not my sourdough start is leaching anything or not. And finally, it cleans easily. I always store my starter in my fridge with a mason jar.
What is this liquid on the top?
It’s alcohol! When your starter eats everything there is to eat, it begins to make a byproduct of hooch. It’s also a way your starter is communicating with you. It’s telling you that all it’s food is gone and it’s hungry! There are two things you can do with the liquid, drain it off or mix it in. I always just mix it in and have never had a problem. If your liquid is grey or dark grey, that’s alright! It’s just really really hungry but it’s still perfectly safe to use. The only color that isn’t safe to eat is orange/pink. I have a fun little saying that helps me to remember this:
If it’s grey let it stay,
if it’s pink, down the sink!
Are there simple recipes that I can use to feed it?
Yes! Sourdough waffles are one of my families favorites! They are much more delicious than regular waffles and they are very simple to make. They do take a bit of forethought because the night before is when you mix the flour, water and starter. If you are familiar with sourdough, then you’re probably used to this. Click here to find the recipe. I hope you enjoy these as much as our family does. If so, please feel free to join in on our Saturday sourdough waffles tradition! I’m not inviting you to our house, just to do it too…

