Grandma Beal’s Homemade Wheat Bread

Grandma Beal’s Homemade Wheat Bread

Grandma Beal’s Homemade Wheat Bread

Soon comes the smell of fresh bread wafting through the air…Is there anything more heavenly?

  • Prep Time2 hr 25 min
  • Cook Time35 min
  • Total Time3 hr
  • Serves2 Loaves About 26 Slices
  • Serving Size1 Slice
  • Energy165 cal

    Ingredients

    • 3 Cups Cold Water
    • 2 TBS Yeast
    • 1/4 Cup Olive Oil
    • 1/4 Cup Molasses, Brown Sugar, Sugar or Honey
    • 3-4 Cups Wheat Flour + more if needed
    • 3-4 Cups White Flour + more if needed
    • 1 TBS Salt

    Method

    In Your Electric Mixing Bowl

    1

    In an electric mixing bowl add the water, yeast, oil, molasses (or sugar), 3 cups wheat flour and 3 cups white flour making sure that the yeast is under the flour.

    2

    Add the salt to the top to keep it separated from the yeast as best as you can.

    3

    Using the hook attachment, turn on the mixer to the lowest speed. 

    Checking the Dough by Feel

    4

    Once all the ingredients are incorporated turn off the mixer and feel the dough with your finger tip. The consistency you’re going for is in between soft and dense. If it’s soft add more flour: 1/4- 1/2 a cup of each white and wheat flour. If it’s too dense or you’ve added too much flour, you can always add some water, a 1/4 cup at a time.

    Kneading

    5

    On the lowest setting, mix the dough for 10 minutes. Don’t add any more flour to your dough during this time.

    The First Rise

    6

    After 10 minutes, remove the dough hook and cover the bread with a clean cloth for an hour. Let dough rise at least double in size during this time, adding more time as needed.

    7

    After the first rise is done, prepare 2 loaf pans by spraying them with non-stick spray or coating them with butter or oil.

    Shape the Dough

    8

    On a clean countertop drizzle roughly a tsp of oil and spread it out with your hand in a circle. Feel free to rub your hands together with the oil from the countertop to help you to not stick to the dough when shaping.

    9

    Pour the dough out onto the oiled surface.

    10

    Cut the dough into 2 equal parts. 

    11

    Take each chunk of dough and squish them dough flat, removing all the air.

    12

    Shape the bread by folding 2 opposite sides into the center 2/3 of the way, one side overlapping the other. Then, taking one open end, curl your dough towards the other end sealing the folds inside the dough. – See video or pictures below for help.

    Second Rise

    13

    Place your shaped dough into the prepared loaf pans and cover with a cloth.

    14

    Set a timer for 45 minutes or until the dough is doubled in size.

    15

    After the second rise, turn on your oven to 350 Degrees F. 

    Bake

    16

    After the oven has reached the correct temperature, then bake for 35 minutes or until the bottom of your loaf is a medium golden brown. See below

    17

    Enjoy hot out of the oven or let cool.

    Mmmmm with a little butter and honey

    Grandma Beal

    This is my beautiful grandmother, Iola Tew Beal, and to whom I owe this recipe to. No doubt this recipe had been passed down to her from her mother or a close friend as that was how it was done in those days. The original recipe makes 5 loaves of bread. I have modified it into making 2 loaves.

     My mother has fond memories of watching my grandmother popping gum bubbles through the side of her teeth as she would knead her bread by hand with great alacrity. To feed her husband and 6 kids she would bake bread several times a week as it was a staple at every meal, 

    regardless of what else was being served. I love listening to my mom’s stories about how strange it was as a newly wed that my dad didn’t want bread served at every meal and thought her odd for it. My grandmother was a sweet woman who was always cheerful and full of life and love. This post is dedicated to her.

    My children can connect with their grandmother and great grandmother by tasting what they tasted in their childhood. How profound a simple recipe is.


    What's cookin' good lookin'!

    Alright, lets begin making some bread! First, add in the water, and yes I use cold water. Why? Reason 1 – it’s easier to teach people how to use cold water than it is to find the “right” hot water temperature. 2 – For you Paul Hollywood fans, it makes tastier bread because it slows down the fermentation process. This creates more flavor than just quickly raising your dough. 

    3 – It’s just easier. I used to put my yeast in a bowl with my sugar and let it activate for 10 minutes. That’s all well and good, but let’s take out steps if we don’t need them to make the process more simple. Are you with me?! If, however, you are in a hurry, then you can certainly use warm water. If you don’t have a thermometer, then a good temperature gauge is to think of the yeast going into a bath. I’m talking about a literal tub. I don’t know about you but I LOVE HOT baths. How hot can you make a bath for you with out burning yourself? That’s the perfect temperature for your yeast.

    Ok, next you’ll add the yeast, oil and sweetener of choice. I love molasses because of the mineral content as well as the rich color that it makes. Did you know that in just 1 TBS of molasses there’s 20% of calcium, 48% copper, 31% magnesium and 31% of manganese! What?! I love finding food

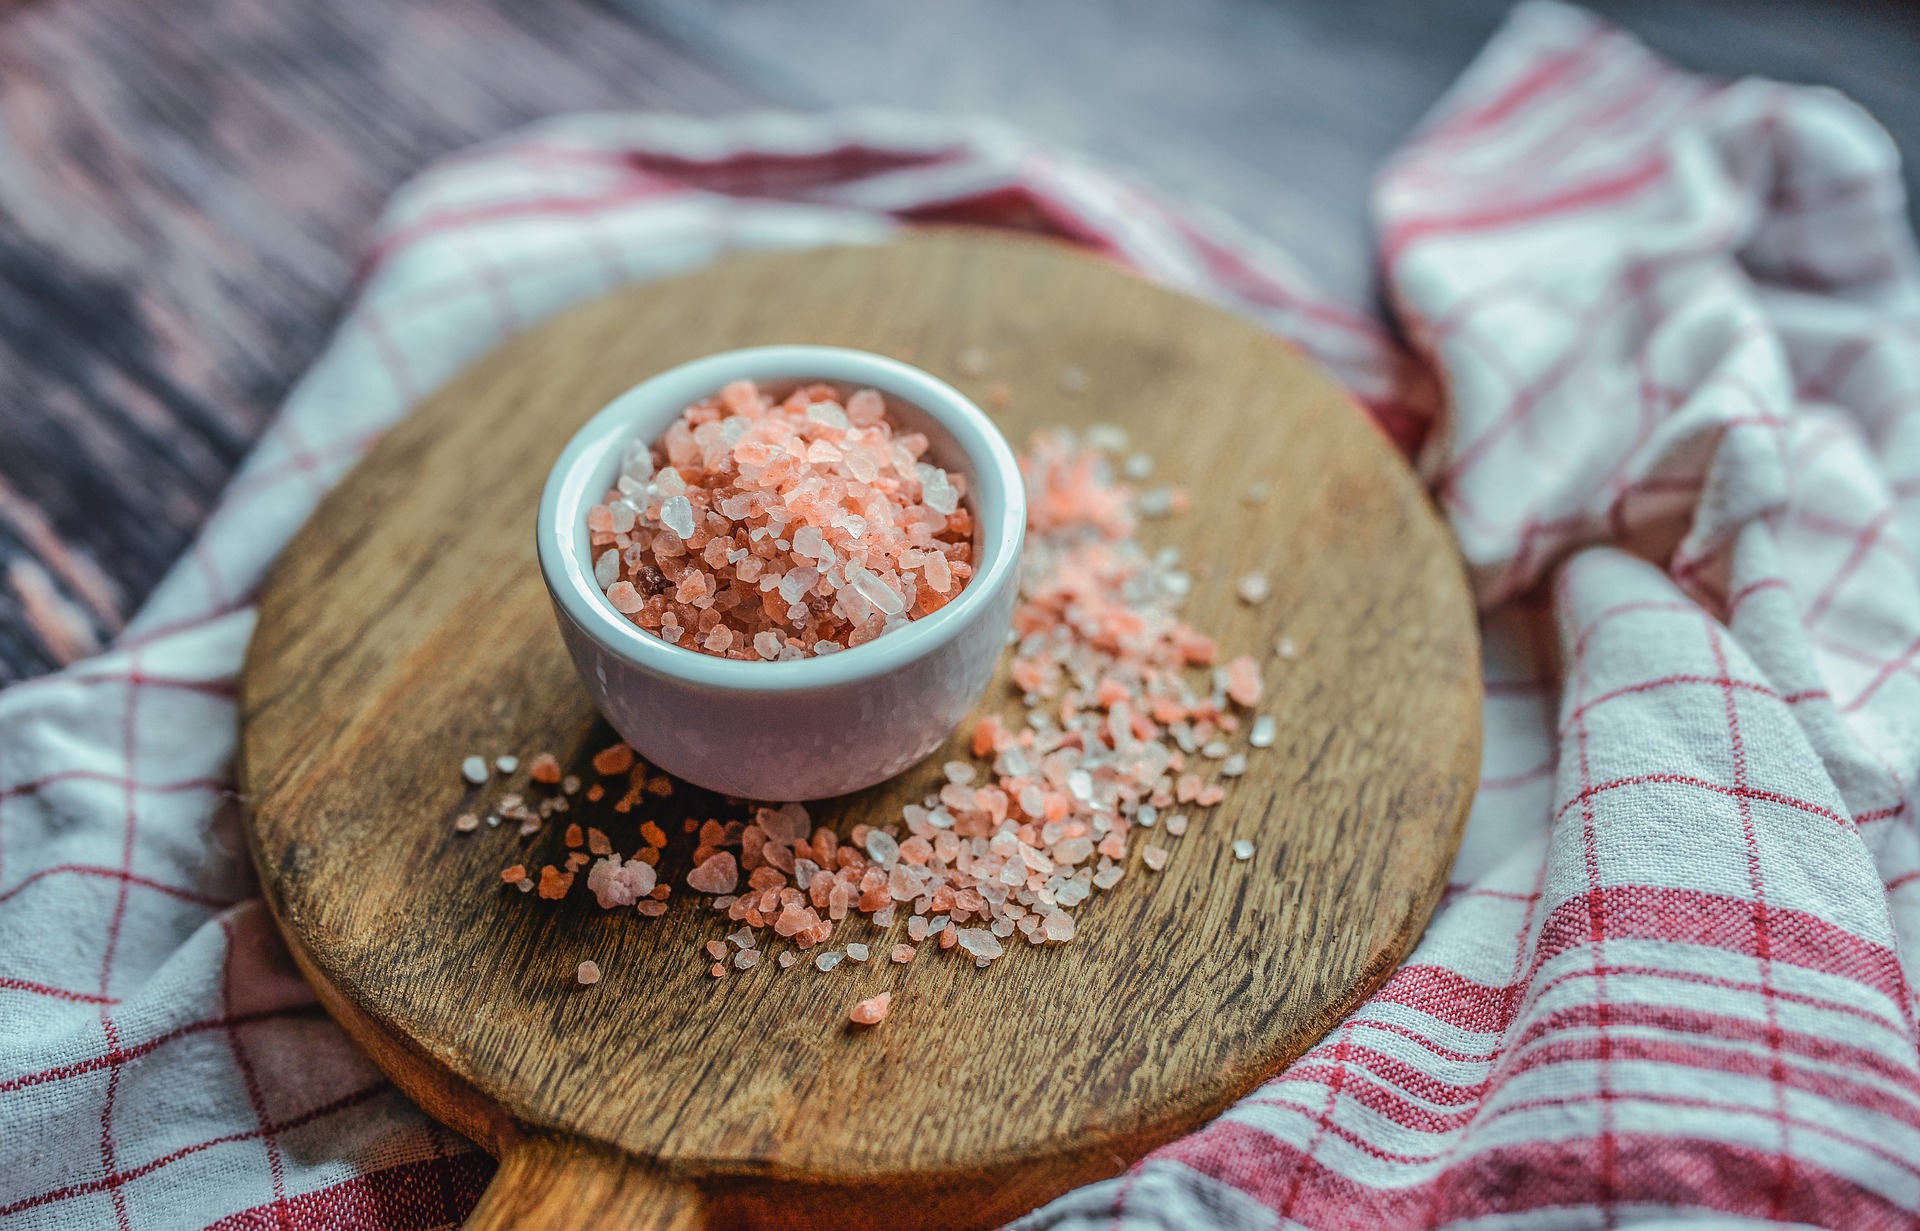
    Next you’ll add the flours. Start with 3 cups of each the white and wheat flours. Top this off with the salt to create a barrier between the salt and the yeast. For more information on why to do this, scroll down to the bottom in the FAQ’s section.

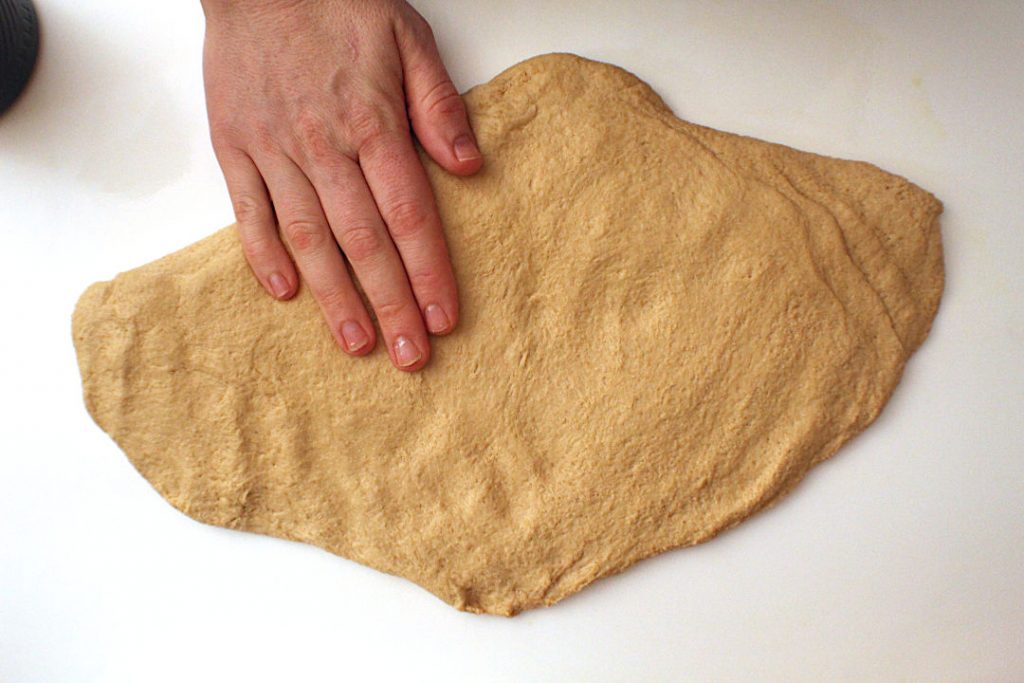
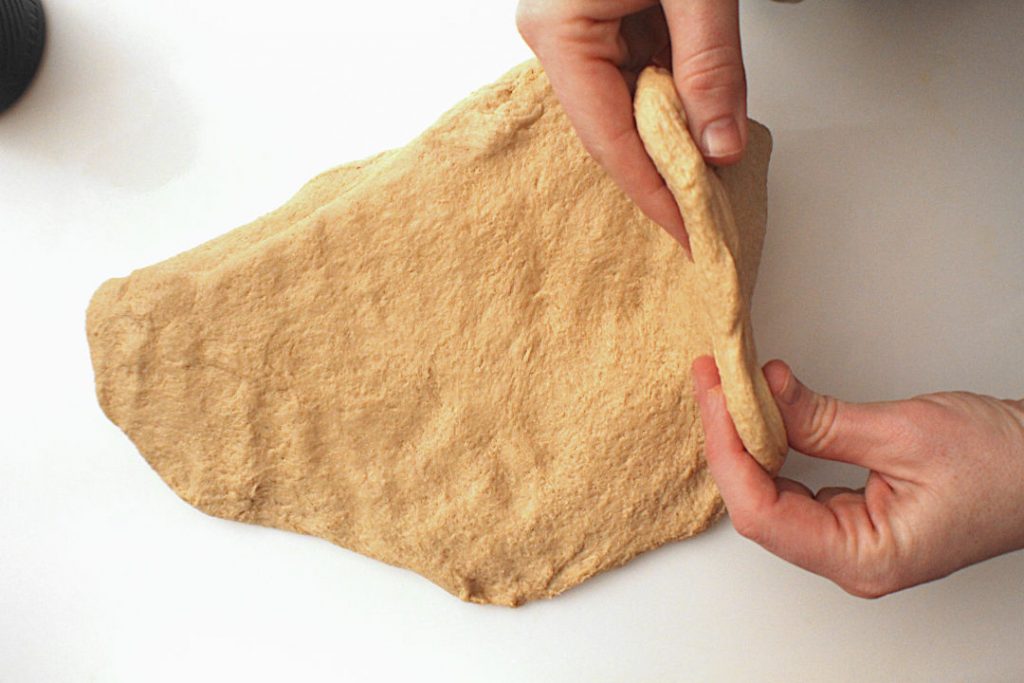
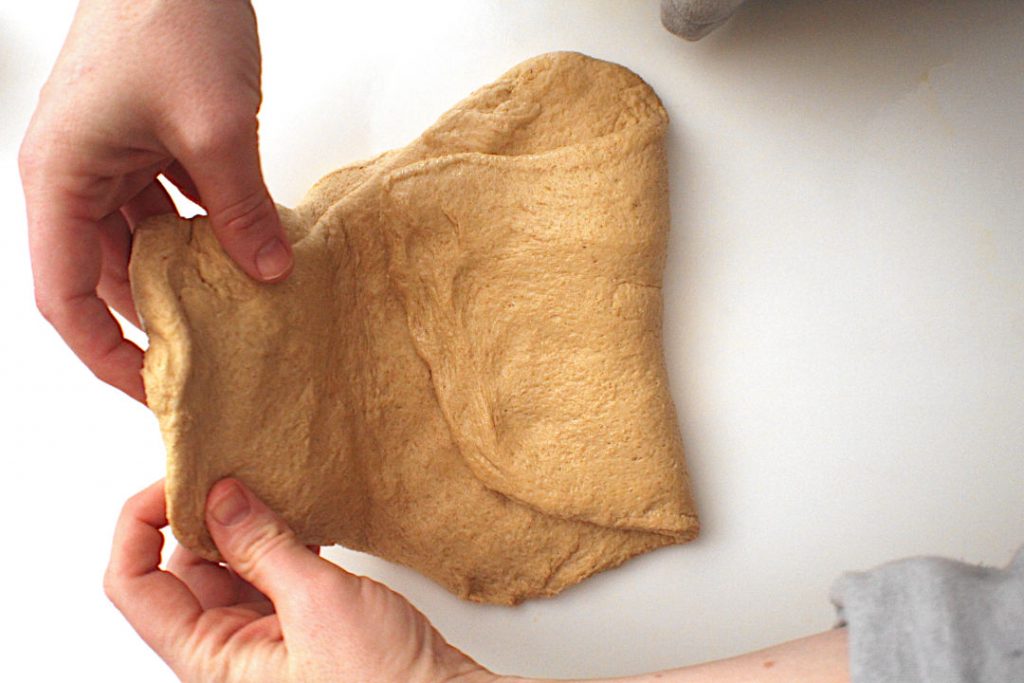
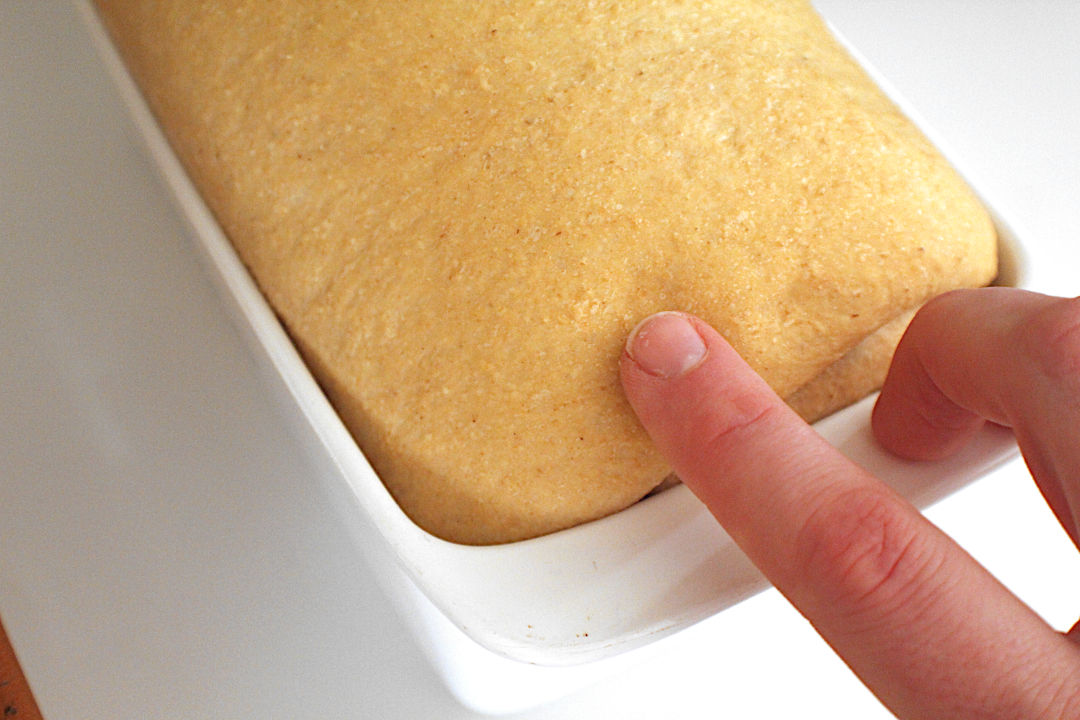
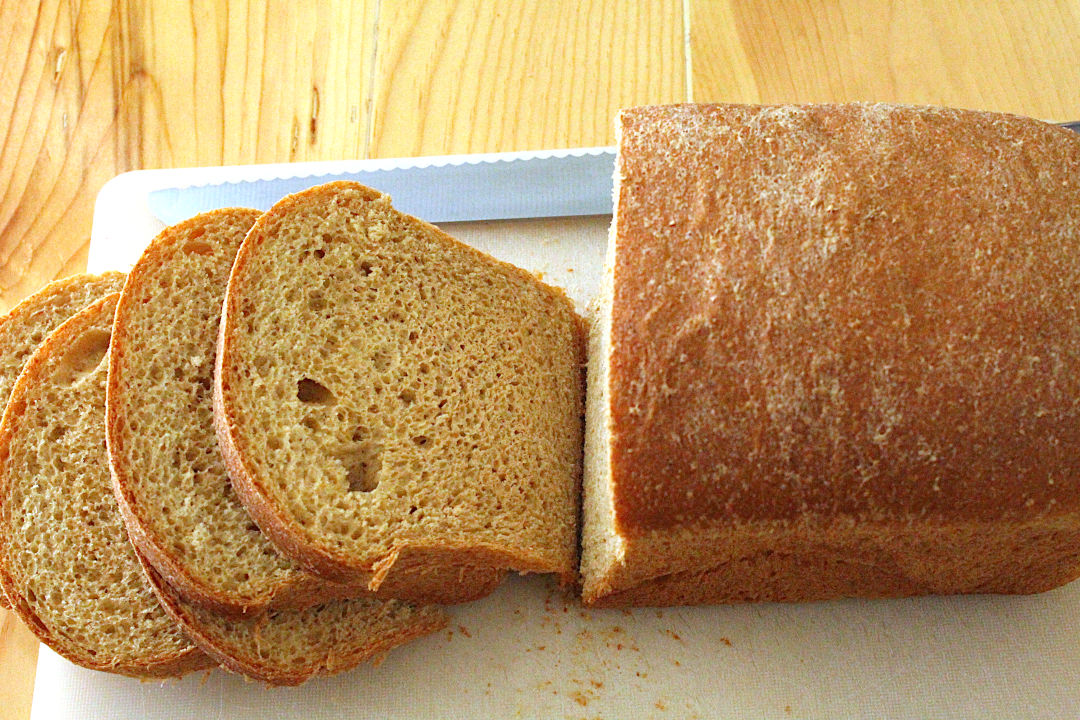
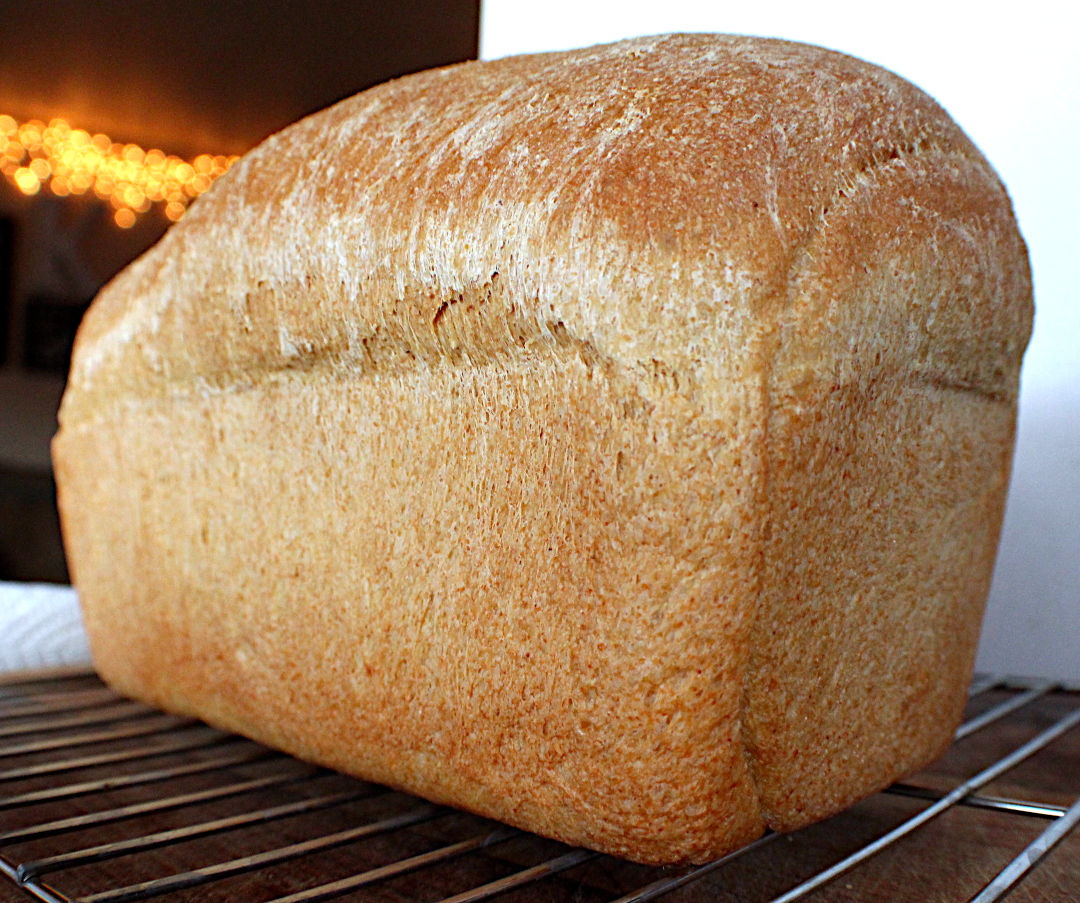
    Turn your mixer on low and let all the ingredients come together as best as they can. Turn off your mixer and feel the dough with your fingers. You’re looking for a consistency that’s not too soft/loose and not too dense. Go for something right in the middle. This is called “baking by feel”. Once you understand what the density of your bread feels like then you’ll never have to worry if you’re doing it right in the mountains or at the ocean. “That’s what she said!” – Michael Scott.

    If you’re dough feels very loose, then add 1/2 a cup of whole wheat flour and 1/2 a cup of white flour. If it feels like it’s getting close or if you’re just not sure, then add 1/4 cup of each. Turn on your mixer again and let all the flour get fully mixed in. Then repeat that process of feeling, adding and mixing until it feels not too soft and not too dense, just right…like Goldilocks.

    If you accidentally go overboard and add too much flour, you can always add in some water. I would start out with a 1/4 cup, mix it in and feeling it. Continue this process until you’ve reached the right consistency.

    The First and second rise

    Ok, so let’s refresh our minds: We have added the ingredients in and kneaded the dough for 10 minutes. Now it’s time to let that dough work some magic. We are going to let the dough rise for about an hour. So take the bowl out of it’s stand and set it on the countertop. Cover the mixing bowl with a clean towel…and that’s it. Literally you’ve completed the next step. Great job! Set your timer for an hour and come back then. 

    Ok, the timer is done so let’s check the progress on our dough. It should rise to be about doubled in size. A good rule that I like to use in this recipe is to see if my dough has domed over my mixing bowl. This rule may only work for some of you as there are many different sized bowls out there. But if your dough comes up to at least the middle of your bowl, then expect it to dome over the top.

    Now it’s time to shape those loaves!

    Shaping your loaves

    How to Shape a loaf of bread
    How to Shape a loaf of bread
    How to Shape a loaf of bread
    How to Shape a loaf of bread
    How to Shape a loaf of bread
    How to Shape a loaf of bread
    How to Shape a loaf of bread
    How to Shape a loaf of bread

    First, flatten your dough out with your hand. Why? Because you want your loaves to rise evenly. If the dough isn’t evenly pushed out, it will rise unevenly. Next you’ll take one side and fold it 2/3rds of the way towards the middle. Take the opposite side and fold it over that section, like a letter. Then take one open end and curl the dough into itself, like a Swiss roll. Ta da! Shaped loaf.

    The only other critique I have for this phase is to make sure that once your loaves are formed, make sure that the dough is long enough to fill the whole pan. If you have to squish the dough down to help it spread out to the size of the loaf pan go for it! You want the dough to fill out the loaf pan, touching all sides. Otherwise you’ll get a really crunchy end, which isn’t the end of the world but when you’re putting in the time to make a good loaf of bread this is a great tip to consider.

    THe Second Rise

    After you’ve shaped your loaves and placed them into their respective pans, cover them with a clean cloth. Often times the second rise is shorter because the cool water is coming up to room temperature, so I usually set the timer on this rise for 45 minutes. 

    There are a few indicators that I look for in a fully risen loaf. The first indicator being the size.  Over the years of bread making, I’ve noticed that the bread rises only a little bit in the oven. That being said, I like to gauge the second rise on the size of the loaf, meaning that I rise the loaf ALMOST as high as a cooked loaf. If you look at the picture above with the loaf in the white pan, this to me is what a “fully risen” loaf looks like. It is heaped over the top of the pan, almost to the size of a normal loaf of baked bread. 

    The Poke Test

    The other indicator that I look for is called “The Poke Test”. There are three possibilities that can take place when you poke your risen dough. 1st – After you gently poke the dough it will spring all the way back. This means that your yeast is still in full force and your bread still has room to grow. If this happens you need to give your dough more time. 

    2nd – After you gently poke the dough and it doesn’t spring back at all, it means that your dough is on it’s way to deflate, making you at risk of having a sunken loaf. The best plan of action at that point is to dump out your loaf, punch down the dough, reshape and start over again with a third rise. 

    3rd- This is your desired area. Once you poke your dough it rises slightly but still leaves an indent. If you reference the picture above you can see a slight indent of where my finger is, and also another to the right. This is the money shot and means that your dough is ready for the oven!

    Bun in the oven...or loaves?!

    Once your loaves are fully risen then turn on your oven to 350 degrees F. Let it preheat totally before sticking your bread in. Once that’s happened then set the timer for 35 minutes. Now it’s time for one last check – the doneness check. There is usually only one thing that I look for when it comes to this loaf, but I will tell you two things for good measure. 

    The first, and usually only thing that I look for in this recipe, is color. When the 35 minutes is up I open the oven and look first at the tops of the loaves. If they are light brown, I leave them in 5 more minutes and then check them again. When the tops reach a medium brown color I then take the loaves out of the oven and pour them out from their pans to look at their bottoms. The same rule applies as with the top – if the coloring is light on the sides then slide the loaf back into the pan and bake it for another 5 minutes. If you fear the top may burn then you can cover it with tin foil, but I rarely do this. Bake until the sides are a medium brown. Once that’s done, yay! You did it!

    The other option is to tap the bottom of the loaf of bread. If it sounds hollow, then you’re loaf has been cooked adequately and is ready to eat. If not, then leave it in the oven for another 5 minutes and then retest. The reason I don’t love this method is because if you’ve never heard the sound of hollow bread, it’s really easy to think that an under cooked loaf sounds hollow. 

    That being said, dig in! I love eating this bread hot and fresh out of the oven. There’s nothing better in life! And now you know everything there is to know about making this amazing loaf of bread.

    Yeast and salt, Why Separate?

    Yeast and salt are not friends, not at all. In fact, salt can dramatically slow the yeast down, causing your bread to be dense and lifeless. Your best bet to your yeasts survival is to separate the two and mix them into the flour separately. Magically though, if separate them from birth, they don’t seem to care that

    the other is there because there’s more buffer. It’s like being at a big party with that jerk from class you loath but it’s ok because your BFF’s there…and your mom. 

    Therefore, I do my best to keep them as far away from one another as possible. This recipe uses cold water. If any of you are fans of Paul Hollywood you’ll know why I do this. Cold water slows the yeast down , creating a longer rise meaning a longer fermentation. The longer fermentation the more enhanced the flavor.

    Baking by feel

    Why the heck do I have to bake by feel?! What is this recipe for anyway!? I thought you said this was easy!?! Those are valid feelings, I’ve had them myself while learning how to make bread. Those measurements are there because most of the time they are on or close to what you need. 

    We all live in different parts of the world. Some on mountain tops, some at the beach. Some super humid, or some, like where I live, super dry. Altitude and humidity can play a factor on whether or not your bread turns out well. Learning to bake by feel will

    help you to learn how to bake in any environment. It’s also a good way to teach yourself to trust in yourself. So, how is it done? It’s done by sharpening those dough testing skills. For this particular recipe you’re looking for a dough that is not too light feeling, and not super dense either. You want something in the middle that has a bit of denseness to it but isn’t a brick. You also don’t want something that will fall apart when you try and shape it. Give some structure and gerth to that dough. Use your fingers to pull or poke the dough to see how it feels. Does it feel light with little resistance? Then it needs a bit more flour. Does it feel dense and playdough-y? You’ve probably gone too far and adding some water in will help. Add 1/4 cup in at a time until you hit the sweet spot. You want something in between the two. 

    Can I freeze this Bread?

    YES! Since this recipe makes 2 loaves, I often freeze one loaf as we can’t eat it fast enough before it goes stale. There are a few things you should know though when it comes to storing and thawing. 

    When you store your loaf, make sure that the loaf is completely cooled. If you wrap up a warm loaf of bread, it will end up soggy and will freeze poorly.

    You can wrap the loaf in saran wrap, or if it will fit, you can put it in a gallon size freezer bag. Just make sure that it’s sealed up well enough to keep out the air so your loaf doesn’t get freezer burn.

    Last, but not least, when thawing your loaf out DON’T thaw it in the microwave or oven. This will make the bread super soggy and undesirable. Instead, leave it out on the counter for a couple of hours or overnight.

    Leave a Reply

    Close Menu