Oatmeal Butterscotch Cookies
- February 6, 2020
- Heather
A classic that delicious and simple. Enjoy!
- Prep Time5 min
- Cook Time10 min
- Total Time15 min
- Serves25-30 Cookies
Ingredients
- 1 Stick Of Butter at Room Temperature
- 1 Large Egg
- 3/4 Cup Sugar
- 1/4 Cup Brown Sugar Loosely Packed
- 1 tsp Vanilla Extract
- 1 Cup Whole Rolled Oats
- 1-1/2 Cup All Purpose Flour
- 1 tsp Salt
- 1 tsp Baking Soda
- 1 Cup Butterscotch Chips
Method
Preheat the oven to 350 Degrees Fahrenheit.
In an electric mixing bowl, add in the butter, egg, sugar, brown sugar and vanilla extract.
Blend on high for 1 minute. Scrape the sides of the bowl down and blend on high for another minute, creating a nice fluffy mixture. Scrape the bowl down again.
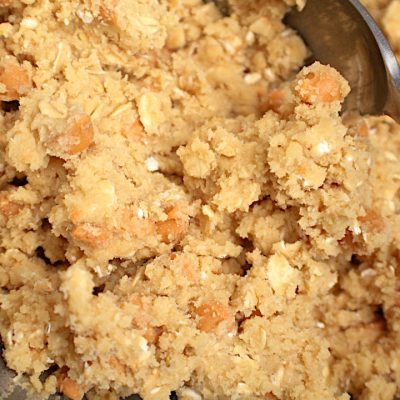
Add in the oats, flour, salt, and baking soda. Mix until just combined being careful not to over mix.
Add in the butterscotch chips and mix until just incorporated.
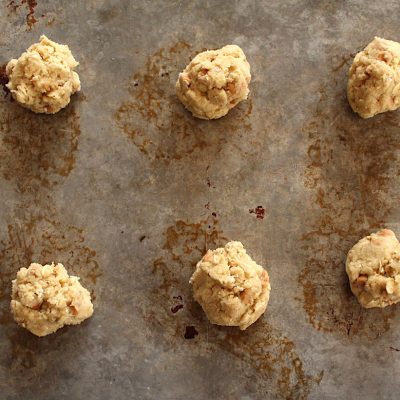
Scoop out a spoonful (or desired amount) and roll into a ball. Place it on a cookie sheet keeping some distance between each cookie to keep it from melting together.
Bake for 8-12 minutes or until golden brown.
*For a soft cookie, cook 8 minutes or just until a small bit of browning begins. For a crunchy cookie cook for 12 minutes or until mostly browned.
Getting that perfect cookie
Ok guys, when I was a kid growing up I would try to make cookies all the time. I can’t remember one time that one of those cookies turned out. My family ate so many bad cookies, it’s so funny to look back on and remember. Boy have I come a long way! Over time and effort I learned what made cookies amazing so I’m here to share my secrets with you.
1 – The Butter – Ok, so if you read the recipe it said to use butter at room temperature. If you’re like me and keep your butter in the fridge then you’ll need to soften it without making it too soft. Here’s what I do: Place the butter in the microwave and cook it for 5 seconds then turn, cook for 5 more seconds then turn, cook for 2 seconds, turn the final time and 2 more seconds. For me this always turns out the best butter that isn’t too soft but still has some firmness with a bit of squish.
2 – The Fluff – As you can see in the recipe, after you add the butter, egg, sugars and vanilla extract you blend on high for 1 minute, scrape down the bowl and repeat. This adds air into the mixture which gives the cookie a better texture and prevents a flat cookie. When I mean blend on high, I mean the highest that your mixer can go. Often times when you do this you’ll see the mixture turn whiter in color. That is a very good sign so keep it up. Sometimes if your butter is too soft it won’t fluff up as well so try and keep your butter somewhat firm.
3 – The Density – I love a soft and mushy cookie. The amount of flour you add in has a lot to do with that. It can be hard to know exactly how much flour to add so I always try to go by feel. If the dough feels too sticky or oily then I’ll add more flour, usually 1/4 cup or less at a time. Something else that happens with not putting enough flour in your cookie dough is that they spread and become very thin. You need to add enough flour to keep that from happening so that your cookies keep their shape. Just be careful Not to add too much flour, creating a cookie that has more of a cakey or dry texture.
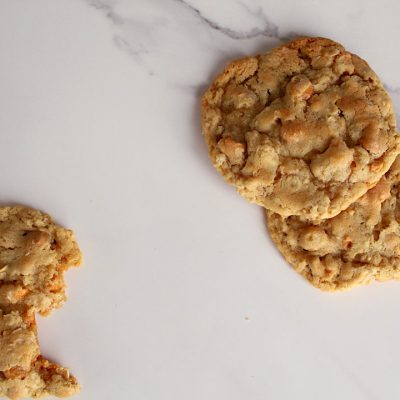
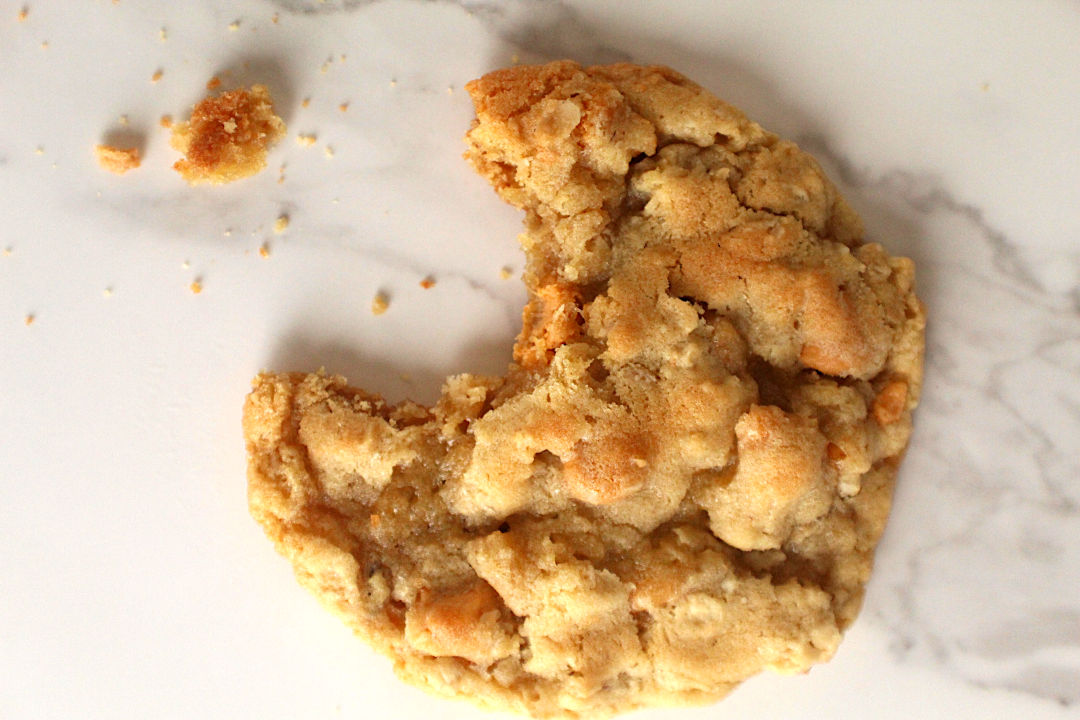
4 – The Bake – This tip all depends on what kind of cookie you are trying to get. If you’re like me, I love my cookies almost underdone and gooey. If that’s what you like, then cook your cookie until it’s just barley baked, with nothing glossy on top and no to very little brown on top. When this type of cookie cools then it will still be soft and chewy. If you like your cookies a bit more done and with a crunch then cook them until all browned bit not burnt. As your cookie dries it will be more crunchy than soft, especially if you leave it out on the counter and live in a dry climate. If you like chewy but with a bit of a crunch then go in between. Cook them until there’s some browning, like 50% for those who like numbers. That is what’s pictured here.
