Fast Granola

Fast Granola

Chewy, crunchy, nutty goodness.

Fast Granola

This granola is what you’re looking for. It’s perfect on it’s own, with it’s gooey and crunchy texture. But you can also dress it up with as many add ins and seasonings as you want. Create your taste!

  • Prep Time5 min
  • Cook Time5 min
  • Total Time10 min

    Ingredients

    • 2 Cups Rolled Oats
    • 1/2 C Chopped Almonds (optional)
    • 1/2 C Roasted or Raw Buckwheat Groats (Optional but adds amazing crunch, flavor and nutrition)
    • 1/4 C Nut Butter (I used peanut butter)
    • 1/4 C Molasses
    • 1/4 C Honey (1/3 if you want it sweeter)
    • 1/2 tsp Salt
    • 2 TBS Butter
    • 1 tsp vanilla

    Method

    For The Oats

    1

    Set the oven to broil.

    2

    Spread the oats and almonds on a cookie sheet. If using raw buckwheat, it needs to be cooked, so place it on the cookie sheet to roast too. If you are using already roasted buckwheat don’t add here as they will burn.

    3

    Roast on the top rack for 5-6 minutes, until the oats begin to brown. 

    4

    During the 5-6 minutes, in a saucepan add in the nut butter, molasses, honey, salt and butter. Turn on high and combine until the mixture is smooth, combined and just melted.

    5

    After 5-6 minutes of roasting, stir the oats, almonds and buckwheat and broil them for approximately 1 more minute, until they brown again. Repeat 3-4 times until the majority of the oats are browed.

    6

    Once toasted, pour the oat mixture into a bowl. Then pour the wet ingredients in the saucepan over the oats. If you are using roasted buckwheat, add it in now as well.

    7

    Stir until well combined and dump out mixture onto the cookie sheet to cool.

    8

    Store in an airtight container on the counter.

    Simple yet delicious

    If you’re wondering what’s in that bowl of granola it’s blackberries, apriums (apricot and plum hybrid), cherries and fresh mango. I have to say, this is my new favorite meal. It’s so delicious and satisfying. It fills my mouth with amazing textures and flavors and it makes my stomach feel happy. Literally guys, I feel content and well set in my stomach when I eat this meal. To me that is a great sign of progress, balance and health. If my stomach is happy and at peace, the rest of me follows. Food is powerful and what you put inside your body can add to or take away from your mood.

    Happy belly happy body

    Stop buying into the idea that food doesn’t have an impact on your mental health and overall well being because it absolutely does. I am living proof! I thought that I was a good eater for the most part, because I would eat veggies and fruit. But what I lacked was balance and trying to eat less processed foods. Even “healthy” looking foods, like ready made Lean Cuisine for example, may look like it’s healthy for you, but the food at that point has lost it’s life giving properties. I’m not talking about carbs for energy per say, but about it’s freshness that gives you strength and vitality. How much better would it be if you had fresh chicken that you cooked yourself with fresh herbs and lemon juice. Pair that with homemade bread and a side of fresh veggies and there’s not comparison to taste and goodness.

    Now that I’ve slightly changed my way of eating by adding in more fresh plants, animals, grains, dairy and fats, my stomach truly has a happy, content and settled feeling. The feeling is almost similar to that of being outside in the snow and then coming in. When you’re in the snow your nose, fingers and feet are freezing. Depending on your jacket your whole body could be suffering as well. Then you come back inside. Your body starts to warm and you have this calm peaceful feeling that comes over you. Eating fresh and balanced food is much the same feeling for me and I love it! This dish does that for me and the best part is that it’s incredible easy to make.

    So let's get to cookin!

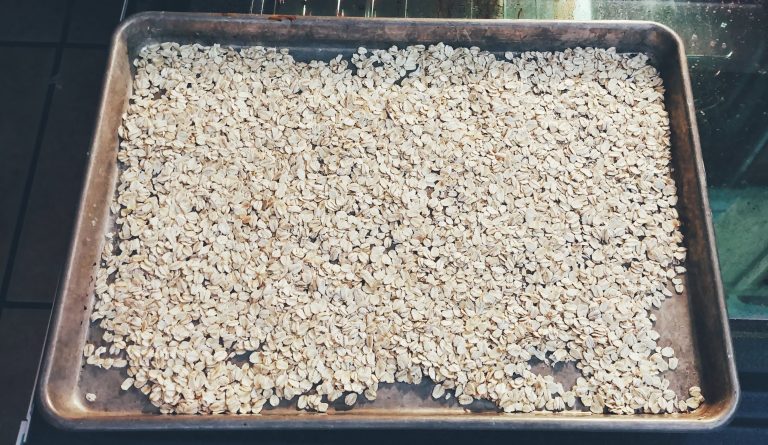
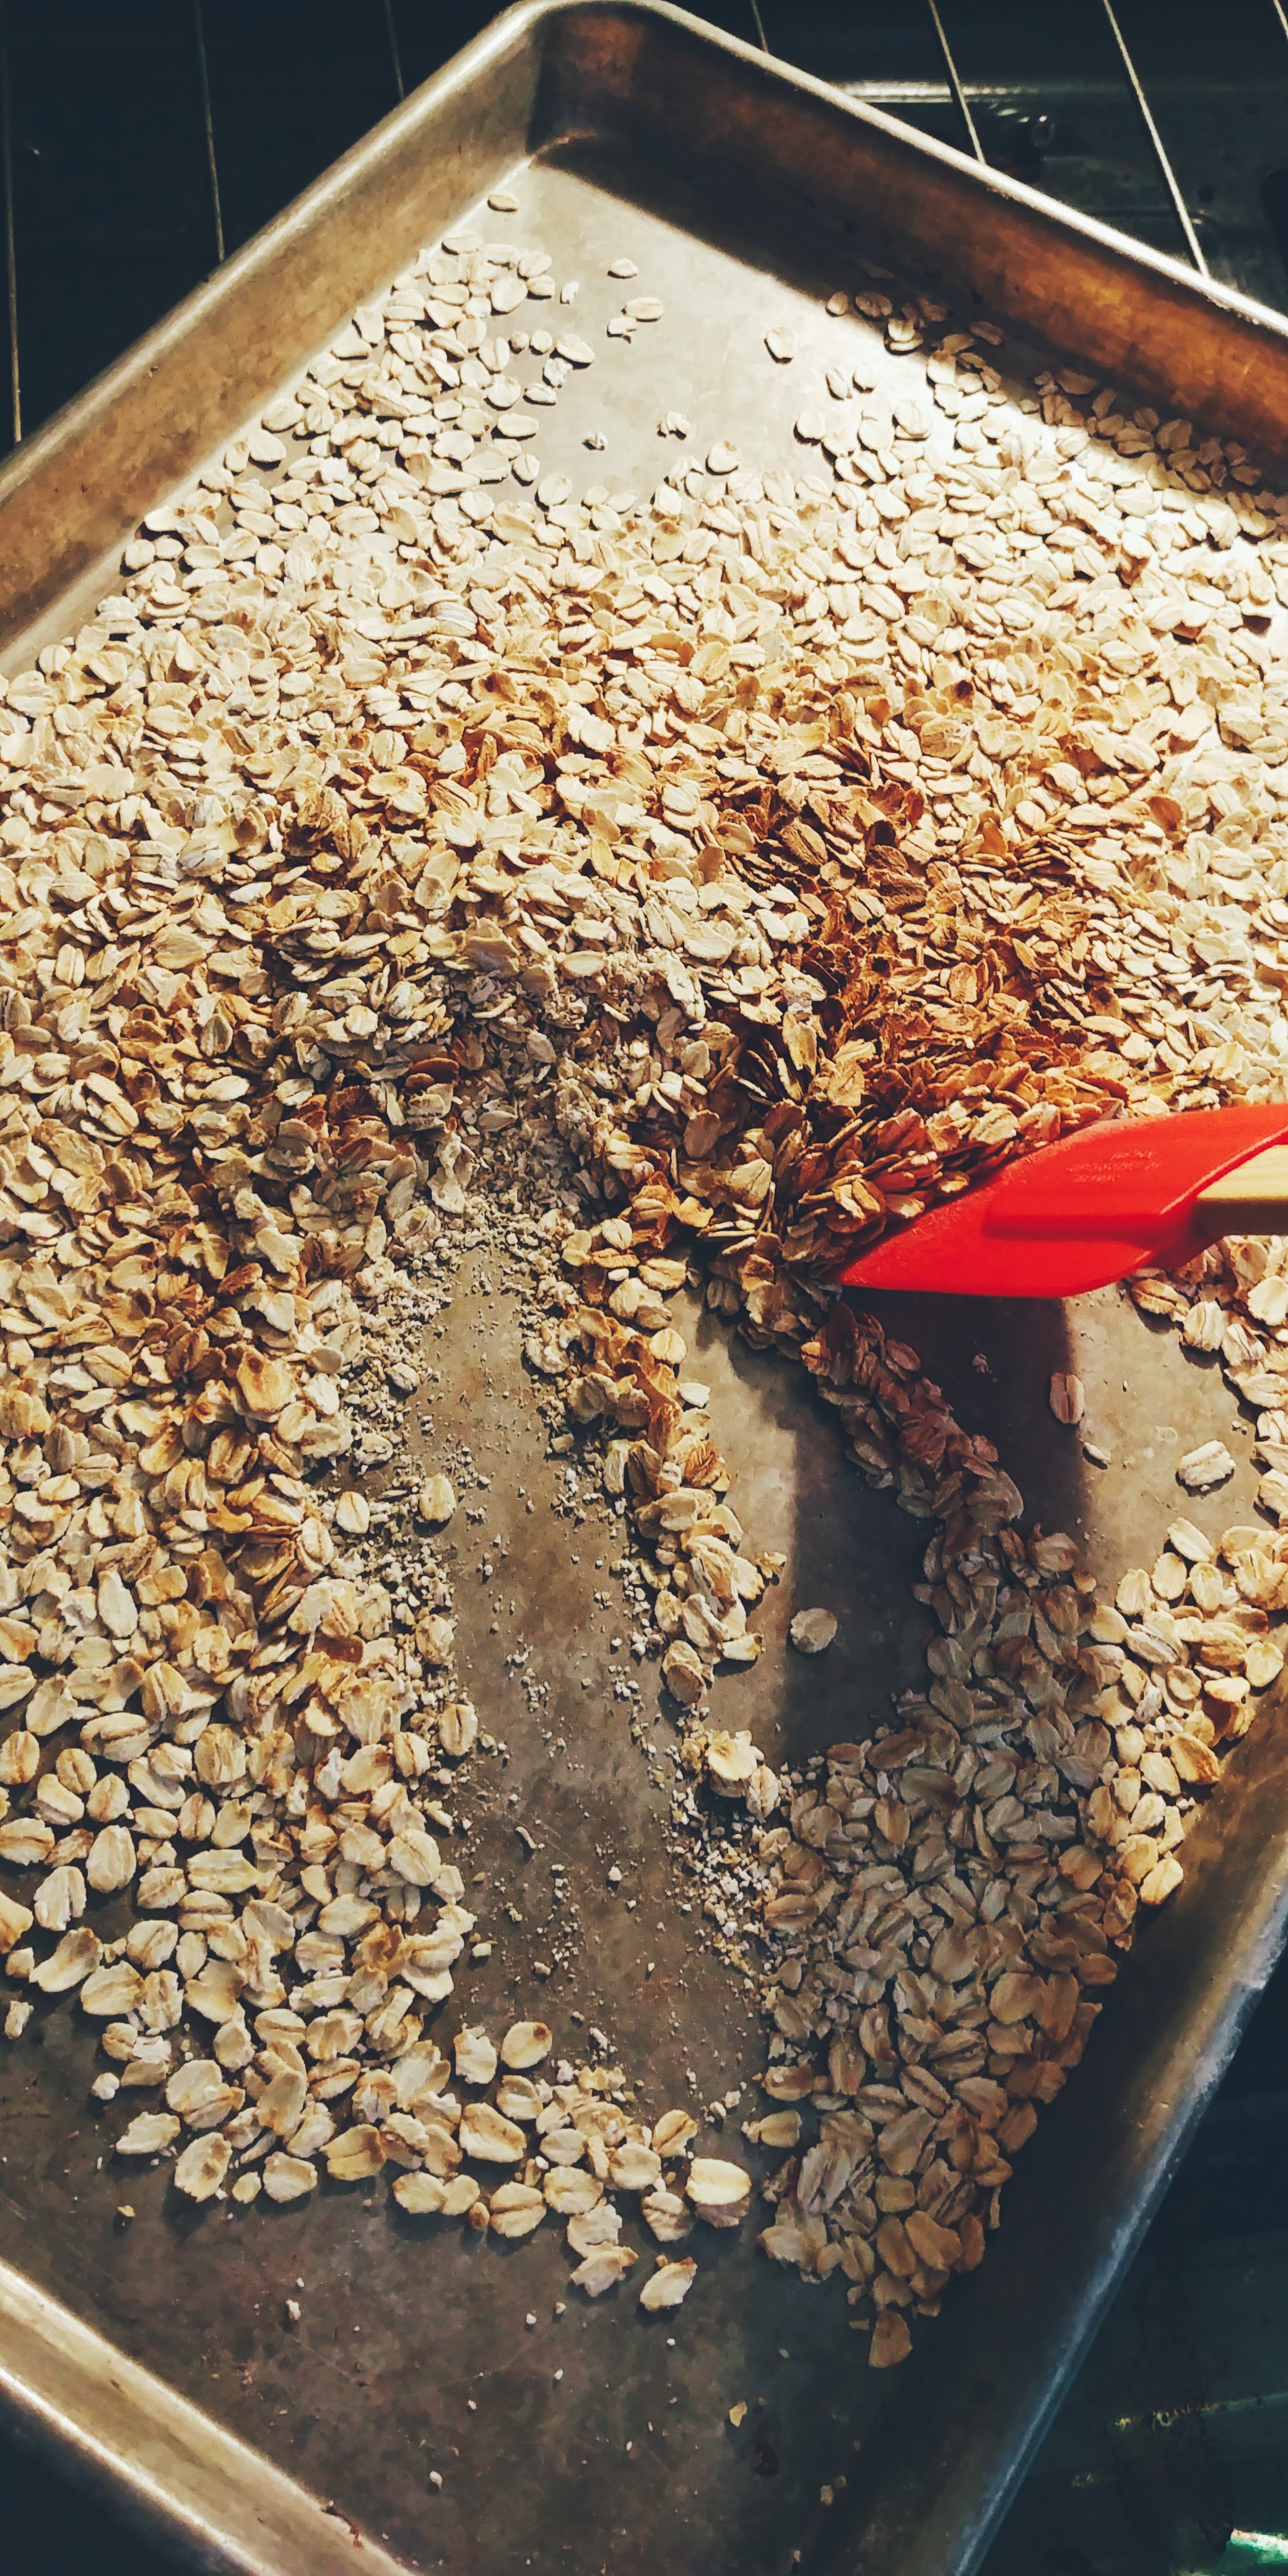
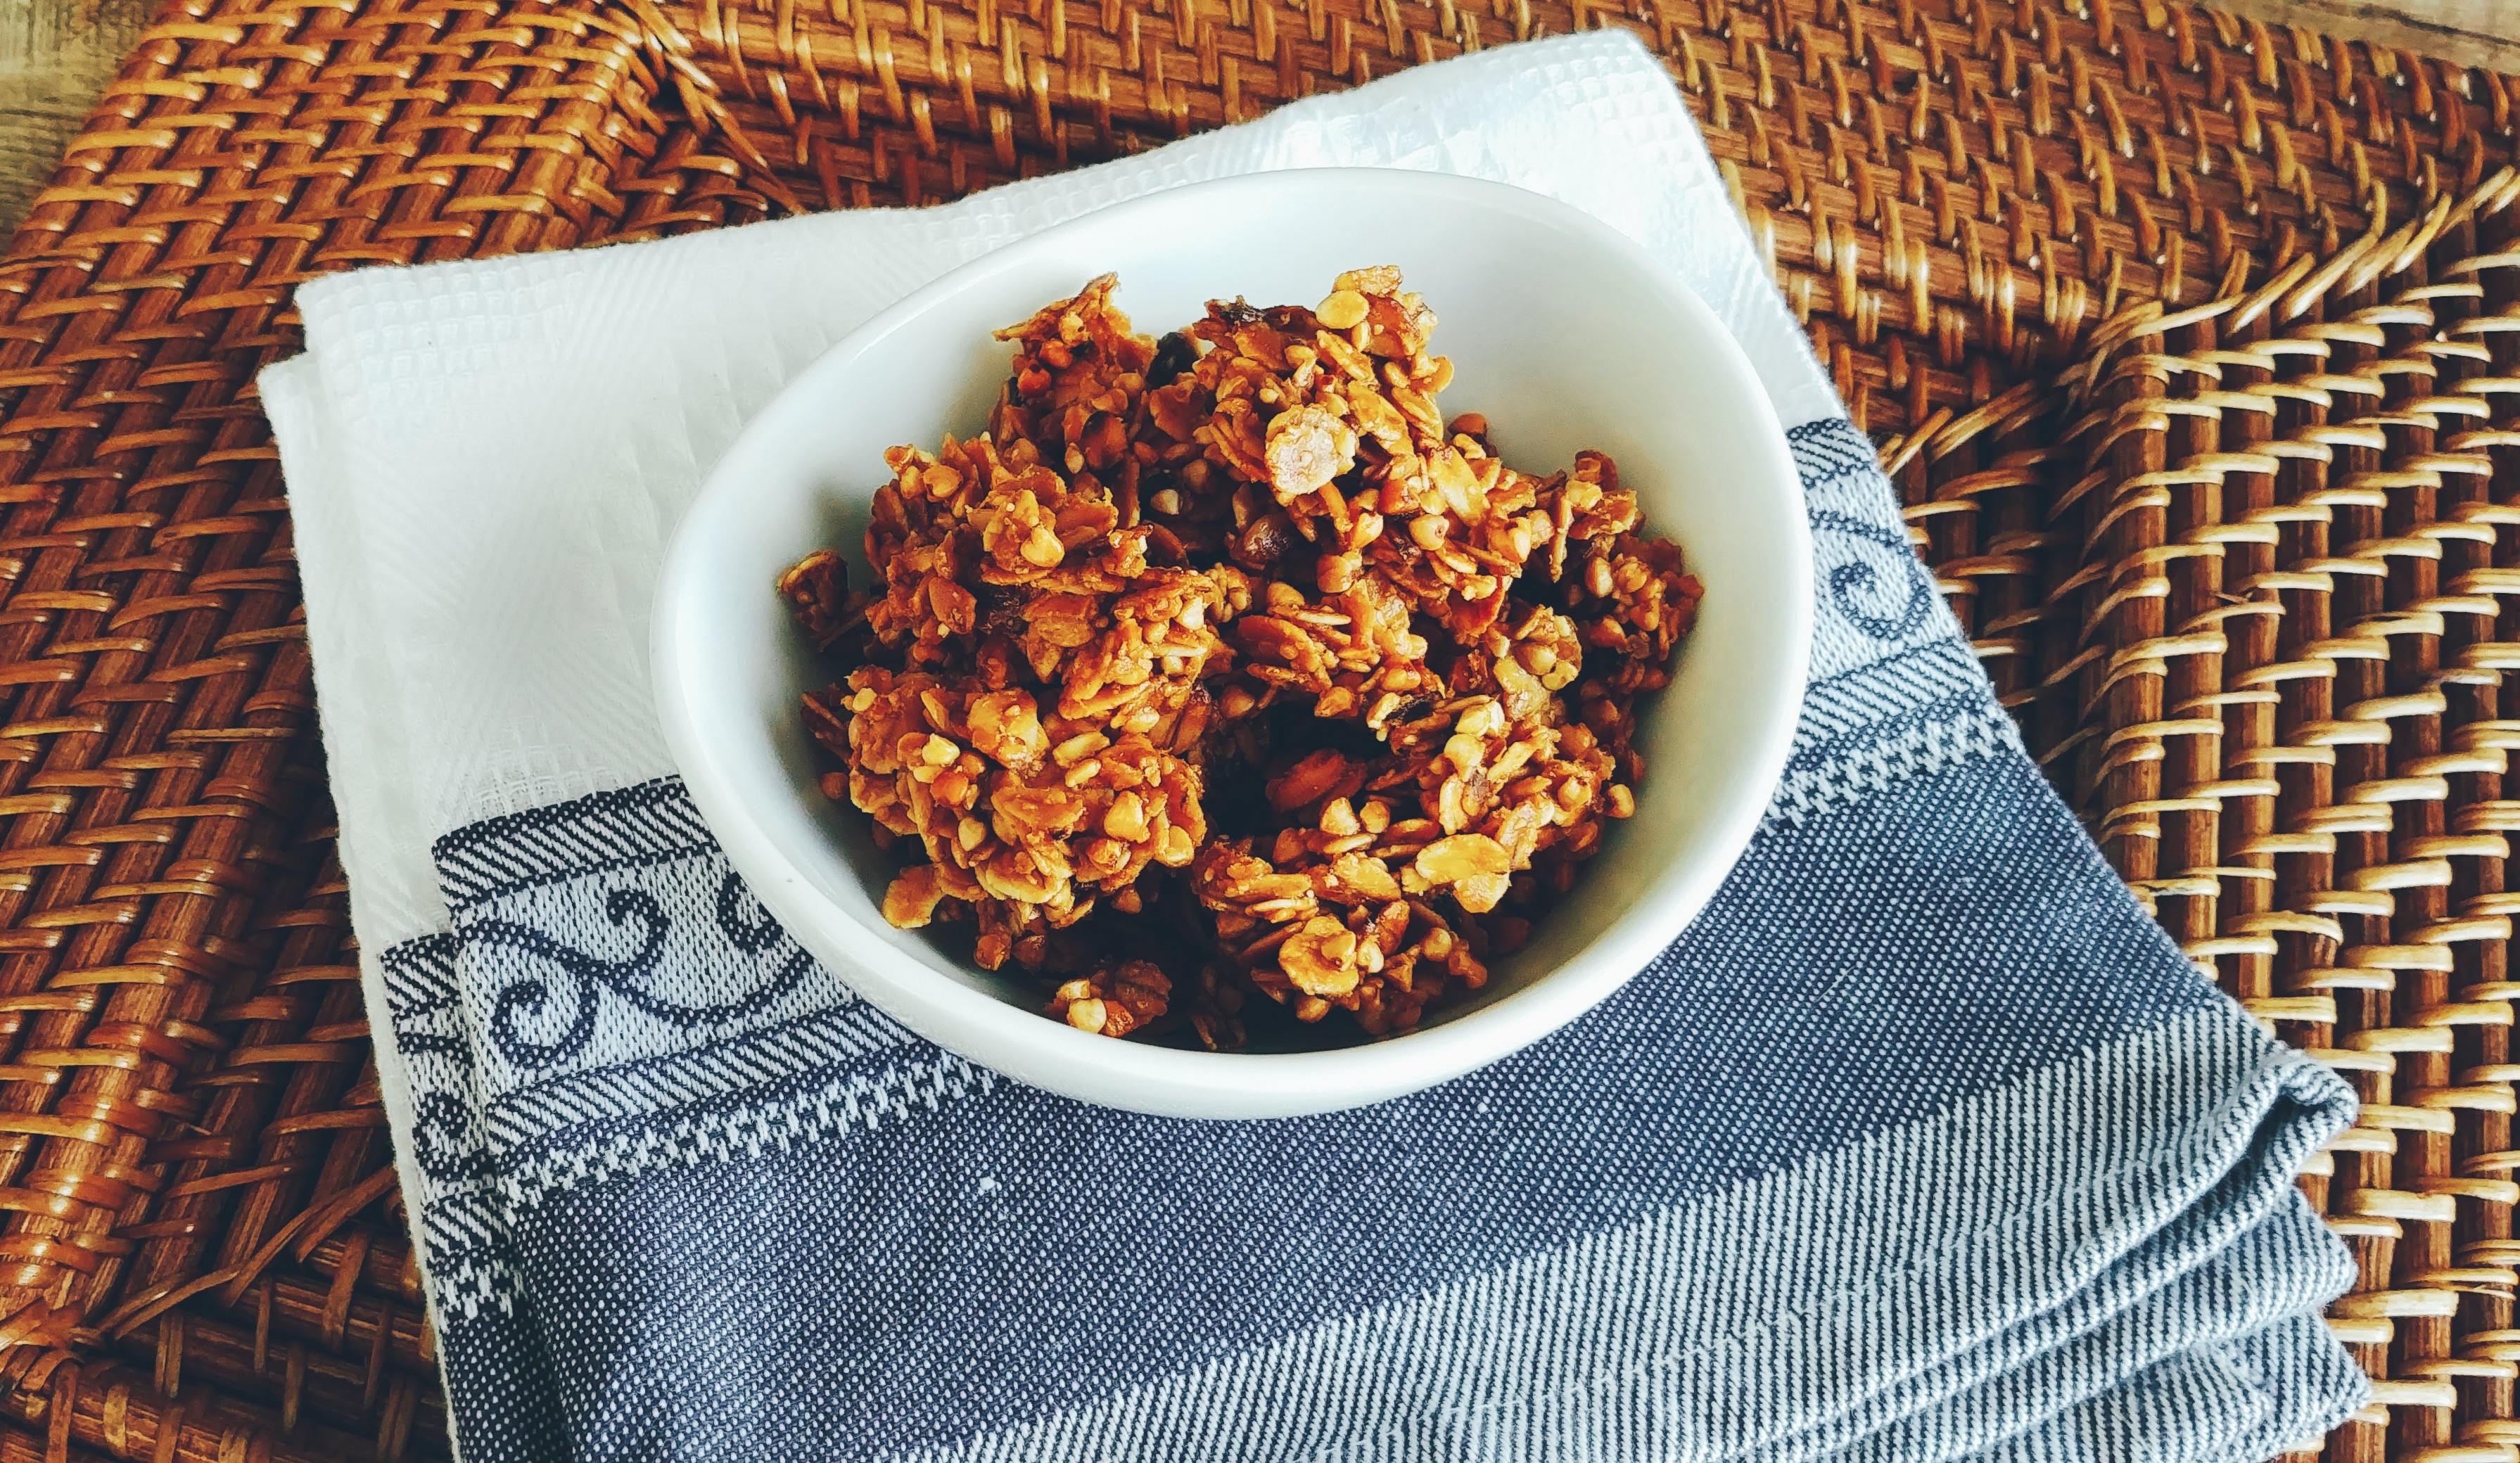
    First start out by turning your oven on to broil. Get that sucker goin’ while you get out a cookie sheet and place your oats evenly spread on it. In this awesome recipe I use raw almonds and buckwheat groats. A few words about these items so you know what to do if you have them. If your almonds are already roasted or cooked, aka not raw, you don’t need to toast them again. If that’s the case for you, don’t put them on the cookie sheet with the pan. You don’t want to over cook them or burn them. Chances are they are probably perfectly crunchy and delicious already. If you have raw almonds that are whole, I roughly chop them up, not worrying too much about their shape, but just getting them a bit smaller for easier consumption. 

    Now, a word about buckwheat, and no not the little rascal. Buckwheat is amazing and if you don’t have it as a staple in your home I urge you to reconsider. It used to not be one in mine either, so don’t be too hard on yourself. The reason I love it so much is that it’s delightfully crunchy and nutty. You can sprinkle it on anything that needs a bit more texture and you’ll be pleasantly surprised. I’m talking yogurt, salads, soups, rice bowls, smoothies/smoothie bowls, peanut butter toast, the list is endless people, endless! Not only that, but it’s very nutritious. It’s full of fiber, has a good amount of protein and also a good amount of minerals like manganese, magnesium, and copper. Raw buckwheat groats are edible but I like toasted. Toasted groats are also called Kasha. Soooooo, what does that mean for you and your granola?? Well, it all depends on what you like. If your groats are raw, I would suggest roasting them with your oats. If they are already toasted then leave them out of the broiling process.

    Ok, time to broil. I am a slightly impatient woman….yeah. So that being said, I put my oats on the top rack because I want the to toast as fast as I can. I set the timer for about 5-6 minutes. This is usually how long it takes for my broiler to start toasting these babies. After that I pull them out give them a few stirs. I set it back into the oven and set it for a minute. After a minute, I pull them back out and give them another stir. I repeat this a few times, usually about 3-4 times until the oats are mostly toasted. Be careful not to burn them!


    Kitchen Time Management Tip!

    While your are waiting on your first round of toasting oats, get your saucepan out and make the gooey delicious sauce for the granola. It only takes a few minutes to pull together, literally you’re just measuring and dumping, you totally have time for this! Especially because the first toast usually takes much longer than the rest of the toasting process. Once you’ve added in all your ingredients, turn the stovetop to high. Stir the ingredients together until they melt with one another, especially the nut butter and butter. You don’t need this to boil, you’re just bringing it all into one cohesive sauce. Badah bing! Done and ready for the oats. You are the mastah! That’s slang for master, just in case you didn’t pick that up. It’s not you it’s me…

    2019-05-28-14-12-17
    2019-05-28-14-14-37

    Once the sauce is done and the oats are toasted I pour the oats into a bowl. I top that with the almonds and the groats to be ready for some pouring action. Get your saucepan out and pour that golden concoction right over the oats, groats and almonds “Oh my!” (it just felt right there you know?).  Now take your spatula and stir until it’s all incorporated, leaving no dry spots.

    Now, if you’re ready to dive in spoon first you can totally eat this hot and it is delicious. If you want to wait for it to cool, then take the cookie sheet that you were using for toasting and sow your wild oats…uh I mean spread out the granola onto the sheet. I don’t flatten my granola for my process because I love the clusters that form when this dries. It’s so chewy and satisfying. If you’re a cluster sort of person, then just loosely spread out the granola and let it sit out for about 10-20 minutes to cool. 

    When you’re granola has cooled, store it in an airtight container on the counter top or in your pantry. Feel free to eat it straight, on top of yogurt, or my favorite way, as a cereal with some delicious fruit chopped up with it. The awesome thing about this recipe is that you can do so much with it. If it’s Christmas or Fall time, feel free to add in a bit of pumpkin spice or ginger. If you love chocolate, add in a few bits of chocolate chips or dark chocolate bark chunks. If you want some coconut shreds, dried ginger pieces, pumpkin seeds, pistachios, raisins, whatever, in there, by all means. This is a base, and a good base at that. Add in whatever that creative brain can think of. 

    I love eating this as a much healthier cereal option than regular store bought cereal. Feel free to use almond milk, regular cows milk or even sinful half and half. My personal favorite is to eat this with fresh  cold almond milk that I can teach you how to make too. It’s so simple, cheap and fresh that you’ll be baffled that you’re buying store bought. The tastes don’t even compare because it’s fresh and doesn’t have any thickening agents. It’s just simple and clean, the way almond milk is meant to be. Click here to find out how you can create it.

    I usually look around and see what kind of toppings are available in my house. I lucked out this week as cherries, blackberries, apriums (apricot/plum) and mangos were all a very good price and ripe with sweetness. Another favorite combo is putting in some dark chocolate chips with some raisins. Weirdly good.

    Leave a Reply

    Close Menu